48 Hour Space Station Corridor – Breakdown

Jake Higgs and kyle Chin
Introduction
Hello, my name is Jake Higgs and I’m one of the first year game art teachers here at AIE. Together with fellow AIE alumni Kyle Chin we decided to challenge ourselves to develop an environment in 48 hours using the techniques shown in the DDO Painter + UE4: Master Materials tutorial featured on Quixel’s website. This article in a broad sense will break down our process of how from scratch, we were able to achieve the image above in 48 hours.
A huge amount of credit must also be given to Adrian Girod who developed the concept image we based this environment on.
Planning Stage
Before attempting the 48-hour challenge we decided to find an already existing concept for us to create our environment from. We did this so that we didn’t need to spend time developing our own idea and could instead spend the entire 48 hours focused on content creation.
The concept art we decided to use was this excellent piece by Adrian Girod.

Adrian Girod
Original Art Station link here: https://www.artstation.com/artwork/58bbz
To begin with Kyle started breaking down the concept piece into the separate materials that we would need to develop for the environment.

After that Kyle began to develop a similar list breaking down all of the models we needed to create.

While Kyle was busy planning out the tasks to be done over the 48-hours I was building and testing the master material in a controlled Unreal Engine 4 scene.
It was important that we planned all tasks and tested the material system before we began the development of the environment so that we had a clear understanding of everything that needed to be created and knew that the material system was functional and would suit the project.
While I was still developing the master material system we would be using Kyle moved on to modelling and asset creation.
Modelling and Material Preparation
For this project we used Autodesk Maya 2016 as it’s the software package myself and Kyle are the most familiar with. When building our models, we ensured that every model snapped to the grid and could be duplicated and reused around the environment to ensure we could build out the space quickly.
For this project we avoided baking normal maps and focused more on modelling detail as needed on our mesh. This saves us a lot of time in the UV mapping and Texturing process and due to Unreal Engine 4 handling geometry well this didn’t significantly harm the performance of our scene. Any normal map details that were required was created using Quixel’s Ndo.
Once our models were finished we would bring them into Ddo and create masks using the dynamask editor to determine where different materials would be applied to our mesh.

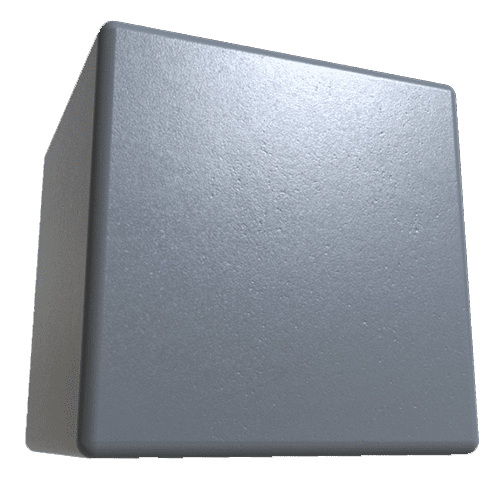
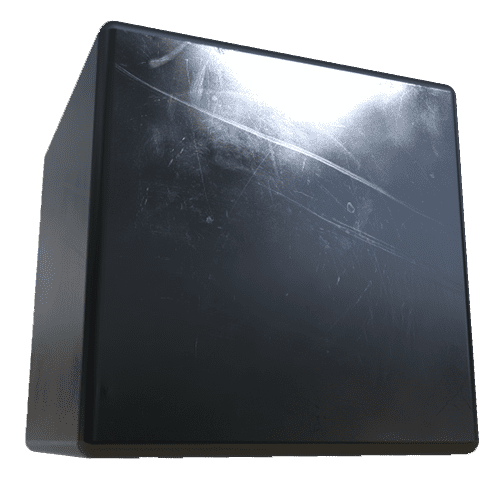
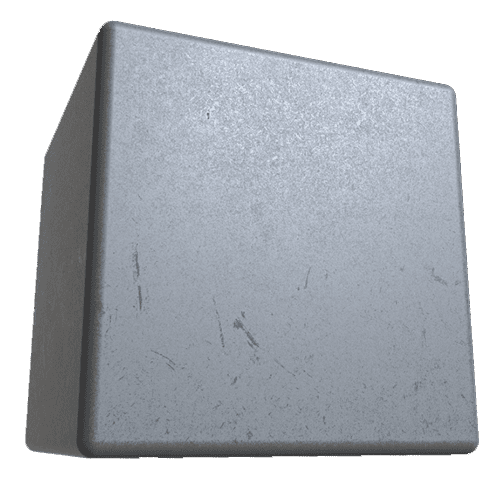
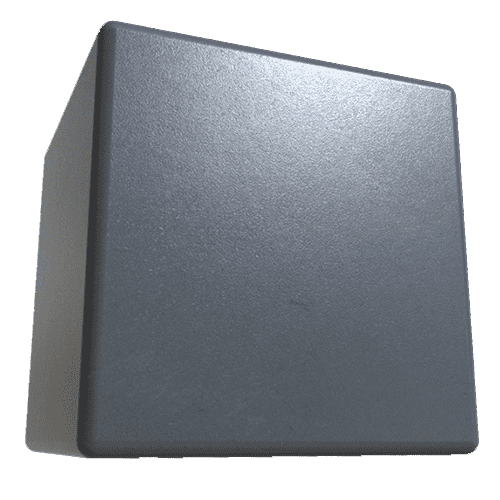
Texture Creation
To develop our materials we closely followed the DDO Painter + UE4: Master Materials tutorial and created a set of tiling textures in Ddo. We did this by starting a new blank project with no mesh loaded in. We then created the basic materials we needed and adjusted the individual Albedo, Roughness, Metalness and Normal Map parameters. Once we were happy with the result we exported the maps from DDO and began building material functions in UE4.
Material Set-up
I’m not going to go to deep into the material set up for this scene as an in depth breakdown of how to develop material functions and the master material can be seen in the DDO Painter + UE4: Master Materials tutorial.
We started by creating Material Functions for each of the main materials we required for our scene. Material functions are awesome as they let us create an entire material system that we can then place as a single node inside another material.

After material functions were created for all of the materials we planned during the planning stage we combined them all into the existing master material.

When we created our material functions we exposed attributes that we could then use a parameter to control in the master material. Once this was set up we were able to create material instances for each asset and control attributes such as the Albedo colour, Roughness Min and Max values, Normal map intensity, texture tiling and more without having to directly edit our master material.

This system really helped us cut down on texturing time and also made making decisions on colour, reflectivity and texture detail easy.
Lighting
The lighting for this scene is fairly simple. We used point lights for all of the florescent lights on the walls with an intensity of 1000 and adjusted the colour to a very subtle orange. I also adjusted the Source radius and length so the shape of the light better matched the shape of the lightbulbs.
For bounce light we used a single spot light set to a very subtle blue to contrast the orange of the florescent lighting.
We combined these lights with Global Illumination controlled through a post processing volume which was also set to a very subtle blue with a slight increase in the intensity.
For this environment we used baked lighting but did not create any custom lightmaps for our models. When working on a game project that requires baked static lighting it is usually a good idea to create your own custom lighmaps, however to save time during the 48-hour period we let Unreal automatically generate lightmaps for us.


Decals
Towards the end of the 48 hours we began to fill out the scene with decals of grunge, dirt and stickers to help break up the very clean repeated look of the scene. This really helped bring some extra life and realism to the final render.
Post-Processing
Very early on we set up a camera in Unreal that showed our final shot and began playing with some post processing effects. From this camera position we adjusted the scene colour tint, vignette Intensity, bloom, auto exposure, ambient occlusion, Global Illumination, depth of field, and Screen Space Reflections until we achieved the look and feel we were after. We also added a subtle exponential height fog to make the scene feel a bit dirtier.
Conclusion
Using UE4, Quixel Suite and the information gained from the the DDO Painter + UE4: Master Materials tutorial we were able to successfully complete our 48-hour environment challenge.
It is important to note that this environment was created in 48-hours to be specifically viewed from a single camera angle and as a result requires additional optimisation to become a fully functioning game level. I hope this article has helped you learn something new and is of use to you in the future, thanks for reading.
Jake Higgs and kyle Chin